Wednesday, June 12, 2013

Caramelized Onion and Goat Cheese Tarts


For me when it comes to entertaining I like to keep things somewhat simple, full of flavor, and a presentation that is happy on the eyes and appetite. I especially like to apply this to appetizers, when having friends over you want to be able to engage with your guests, keep the wine flowing, and check in on the cooking main dish from time to time. I like to go with no muss no fuss appetizers, which I think this one is.

The last time I needed an appetizer I tried out the below recipe for caramelized onion and goat cheese tarts. They did not require too many ingredients or too much work. My guests were happy with the outcome and so was I. So next time people show up at your door, give these a try, you will be happy you did.

Caramelized Onion and Goat Cheese Tarts
  • 1 tbsp unsalted butter
  • 1 large onion, thinly sliced
  • 1/4 cup of water
  • 1/2 tsp chopped fresh thyme leaves, plus more for garnish
  • 1 puff pastry sheet, thawed- the sheets I used were thicker than what I would have liked but oh well, next time I will use the thinner ones
  • 1 oz soft mild goat cheese at room temperature
Preheat the oven to 450 degrees
In a heavy skillet, melt butter over medium-high heat. Saute onion, stirring occasionally


Add water and deglaze the skillet, scraping up any brown bits and cooking until the water evaporates. Stir in the thyme and cook until onion is even a deeper brown, about 10 more minutes.

While the onion is cooking, cut off 1/3 of the pastry sheet, cutting lengthwise along the perforated line. Halve the piece again lengthwise to create two 10x3- inch strips. Cut each strip into 8 triangles.


Place triangles on a parchment-lined baking sheet, prick pastry all over with a fork; bake until golden, about 10 minutes. Careful to not let it burn.

Spread goat cheese onto pastry triangles; top with caramelized onion, and garnish with fresh thyme leaves and serve immediately.


Wednesday, June 5, 2013

To Juice or Not to Juice


To Juice or Not to Juice... That is the question! Is it just me or all over LA are there people walking around with their beloved concoctions of green juice? I feel like now more than ever juicing is the new hot thing. Whether you use a Vitamix and brave making your own juice at home, or you head out to many of the juice spots popping up all over, like Nekter and Kreation.

When Kreation popped up in my neighborhood, and I was feeling, let's be honest, a little full, bloated, and out of shape from a few bender weekends. I decided to give their three day juice kleanse a try. Not eating for three days seemed almost impossible for this foodie, I am not going to lie to you it was not a walk in the park, but I got through the three days a lot lighter, feeling less bloated, and had an overall more lean appearance! Oh and I lost close to 6 lbs!!!


This is what is included in the three day cleanse I chose to partake in which is called 'The Reboot' and here is what to expect if you decide to do one yourself.

Reboot:
Intended for the beginner, the Reboot combines the Master Cleanse juice with several fruit juices and a single green juice. While you receive all the required calories and nutrition from approximately 15 pounds of fruits and vegetable, you are still taking in roughly over 1,000 calories a day so you are not starving yourself or attempting anorexia.

Day 1: If you are someone who enjoys coffee every morning, this will probably be the biggest shock to your system, I experienced sluggishness from not having my morning caffeine jolt, and headaches due to the caffeine withdrawals. Cravings for solid food is par for the course.

Day 2: Your body is still craving solid foods but it is getting used to the all liquid diet. I felt a little crabby and tired in the afternoon of day 2, but by the evening was feeling good, apparently this is due to the toxins leaving my body.

Day 3: You are in the home stretch, you made it this far, why give up now! By day three I was noticeably slimmer, and shockingly had more energy! When on a cleanse rigorous workouts are not suggested but I did feel like I could workout but was advised against it. By the evening I was almost in a state of euphoria!

Day 4: The cleanse is over! Start welcoming solid foods back into your diet gradually, if you go crazy and eat everything in site you are going to pay for it, since your system is not used to solid food.

The best thing I noticed post cleansing aside from a little weight loss, were the lack of cravings. For days and almost weeks after the cleanse, I was eating much lighter and healthier and was not craving heavy rich foods that I typically divulge in. My portion control was a lot better too!

So if you decide to cleanse good luck to you, it is a commitment but it is only three days, so you can do it! I am happy I did!


Monday, June 3, 2013

Baked Eggs


Hi! I am back! I know it has been quite some time since my last post, but what can I say with wedding planning and work, I have been one busy bee! I am still having fun at the beach and experimenting in my kitchen, so I am hoping to catch up on some of the things I have been up to, and have not been able to get on the blog until now!

For Mother's Day this year my mom came to visit us up in Manhattan Beach, we kicked off the morning with mimosas and bakes eggs, and later had a lovely brunch at the The Strand House. Knowing we were headed to brunch later that afternoon, I wanted to have a small bite for breakfast. I found this recipe and split it in half. The breakfast was a total hit and my mom appreciated the thought and effort!

Eggs with Cream, Spinach, and Country Ham
Serves 8- I adjusted the recipes to serve 4


Saturday, January 5, 2013

Dinner Party

Post holiday season the last thing I want to think about is cooking or a big meal. Let's just say I am still feeling full from all of the food and booze throughout the Christmas season.

Prior to Christmas we had my bff and her now fiance' (he proposed the night after they came over for dinner!) over for a special meal. It was a great dinner with even better friends. Everything I cooked was super easy, and I was able to prep almost everything prior to our friends arrival so more time was spent chatting than cooking.

We started with Pear, blue cheese, and honey appetizer toasts, I followed this recipe that I found on Pinterest. For the main course I tried another new recipe I found on Pinterest for prosciutto wrapped chicken thighs with Rosemary, this recipe said to grill the chicken thighs, but I baked them at 370 for 40 minutes which worked perfectly and allowed me to stay out of the kitchen and entertain our guests. For a side I cooked up these Brussels Sprouts with Pancetta. Our lovely guests brought the dessert, peppermint ice cream sundaes!

Here are some pictures from the evening!


Tuesday, November 20, 2012

Parmesan Crisps

With thanksgiving only a couple of days away I am always thinking of good appetizers and snacks to have around prior to the big show, that is Thanksgiving dinner, that won't spoil your appetite but will leave you satisfied enough so that you aren't starving until meal time.

I have heard cheese is a good option for pre turkey feasting, it will fill you up, but not too much. Rather than a simple cheese tray you should try this recipe for Parmesan Crisps, not only are they the  simplest thing you will ever make in your kitchen, you are only going to need one ingredient!! They look great on any appetizer platter, and can also be used as a great garnish for caesar salad.


Parmesan Crisps

  • 4 ounces Parmesan Cheese
  • Thats it!! 
Line a baking sheet with parchment paper, and preheat the oven to 350 degrees.

Grate 4 ounces of parmesan cheese, if you want to make it really simple, forget the grater, store bought shredded parmesan cheese will work just as well.


Then measure out a tablespoons of the parmesan cheese, and drop them onto the parchment paper, into neat little piles of cheese, leaving enough space for the cheese to melt.


Bake in the oven for about 6 minutes or until golden brown. Let them cool, then remove from the parchment with a spatula. Serve and enjoy!


Friday, November 16, 2012

Fall Fun Part II

Like a lot of people, a big part of fall for me is football season! I have been able to make it to most of the USC home games this season, and although our record isn't superb we have been having a lot of fun tailgating with friends and cheering on the Trojans! Here are some shots of the recent fun I have been having this fall, a lot which has to do with USC Football!


Front row seat to the USC marching band heading into the Coliseum


Dessert at Bouchon in Beverly Hills


USC marching band coming to entertain our section during a recent home game


Hummingbird joining me on the roof deck to view the spectacular sunset


Dessert at a dinner where Athletic Director of USC Pat Haden spoke


Cheers! All of the girls toasting at a recent Gourmet Group (cooking group with my girlfriends)

I hope you have a lovely weekend! So excited for the holidays to kick off next week with Thanksgiving! 


Wednesday, November 14, 2012

Baked Oatmeal Casserole

I am a huge fan of brunch, really who doesn't love brunch? Breakfast is served until late in the afternoon, mimosas are a must and are usually included in the meal,  and it is a great way to spend time with friends over the weekend.

Maybe it is a result from my time living in New York, because in the city brunch on Saturday or Sunday is practically a must, and it is usually followed up by shopping, not a bad way to spend the weekend in my view :)  A few weeks ago we were at a friends place for a pot luck brunch. The boys provided the booze and the girls brought the food. I made a Baked Oatmeal Casserole inspired by this recipe I found on Pinterest. It was a hit with my fellow brunchers and I enjoyed it too! The oatmeal makes it a hearty filling dish, but the fruit and chocolate chips will satisfy your sweet tooth!


Baked Oatmeal Casserole 

  • 2 cups rolled oats
  • 1/3 cup brown sugar
  • 1 teaspoon baking powder
  • 1 teaspoon cinnamon
  • 1/2 teaspoon salt
  • 1 cup coarsely chopped walnuts
  • 1 cup rasberries (blueberries work too) 
  • 1 cup milk chocolate chips (you can use less if you don't want it too sweet)
  • 2 cups milk
  • 1 large egg
  • 3 tablespoons butter, melted
  • 1 tablespoon vanilla extract
  • 1 ripe banana, peeled, 1/2 inch slices

Preheat the oven to 375 degrees, grease your baking dish and place it on a cookie sheet. In a large bowl mix together the dry ingredients: oats, sugar, baking powder, cinnamon, and salt. Then add half the raspberries, half the chocolate chips, and half of the walnuts.


In another bowl mix together the wet ingredients; milk, egg, vanilla, and butter. Then add the oat mixture to the baking dish. Top with the remaining raspberries, chocolate chips, and banana slices. Then top with the milk, egg mixture.


Bake for about 35-40 minutes, until golden brown. Pour yourself a mimosa, serve and enjoy!


Saturday, November 10, 2012

Baked Ziti

We all know the relentless beating the east coast has been taking lately weather wise, so I feel guilty saying this but, this past Thursday we had rain and I couldn't have been happier! It was a wet, dreary, gloomy day, with the rain carrying into the evening.

I don't know about you but when it is cold and rainy outside all I want to do cuddle up near the fire with a good glass of red wine and some yummy comfort food. So for our first rain of the season, that is exactly what we did! I made a version of this recipe I stumbled across a while back in Food and Wine Magazine for Baked Ziti, it was the perfect dinner for a chilly fall evening.


Baked Ziti

  • 1 pound Ziti or Penne
  • Extra virgin olive oil
  • 1 onion finely chopped
  • 4 garlic cloves, minced
  • 1 pound lean ground sirloin
  • 1/4 teaspoon crushed red pepper (I used a lot more to give it some kick!) 
  • Salt
  • 1 jar of marinara sauce
  • 1 1/2 cups of ricotta
  • 1/2 pound mozzarella, shredded
  • 1/4 cup freshly grated Parmigiano-Reggiano cheese


Preheat the oven to 450 degrees. Finely chop the onion and mince the garlic.

Bring a large pot of salted boiling water to a boil, add the pasta and cook until just about al dente. While the pasta is cooking, in a large, deep skillet, warm the olive oil and add the onion and garlic, cook until soft. Then add the sirloin, red pepper flakes, and season with salt. break up the meat and cook until the meat is no longer red.


Once the pasta has cooked, drain the pasta and return it to the pot. Add the marinara to the sirloin, bring to a boil and cook for about 5 minutes. Begin to add the cooked pasta to the meat and marinara mixture, if you don't have a deep skillet this can get tricky... Then begin adding the ricotta, stirring it in into the mixture in large dollops.


Grease a 9x13" baking dish, then pour half of the ziti mixture into the baking dish, then top the ziti with half of the mozzarella and half of the parmigiano. I didn't exactly follow the recipe with regards to the cheese I am sure I added a lot more, you never can go wrong when adding more cheese! Pour the remaining ziti into the baking dish and top with the rest of the cheese.


Bake on the top rack of the oven for about 15 minutes, keeping an eye on it, remove from the oven when the cheese is bubbly and browned. Open a bottle of wine, get a fire going, and enjoy on a rainy night!


Wednesday, November 7, 2012

Mini Banana Bread Chocolate Chip Muffins

It has a been a while since I have posted, unfortunately I have been under the weather for some time now, which at one point led to a trip to the ER. Good news I am feeling better and I am on the mend!

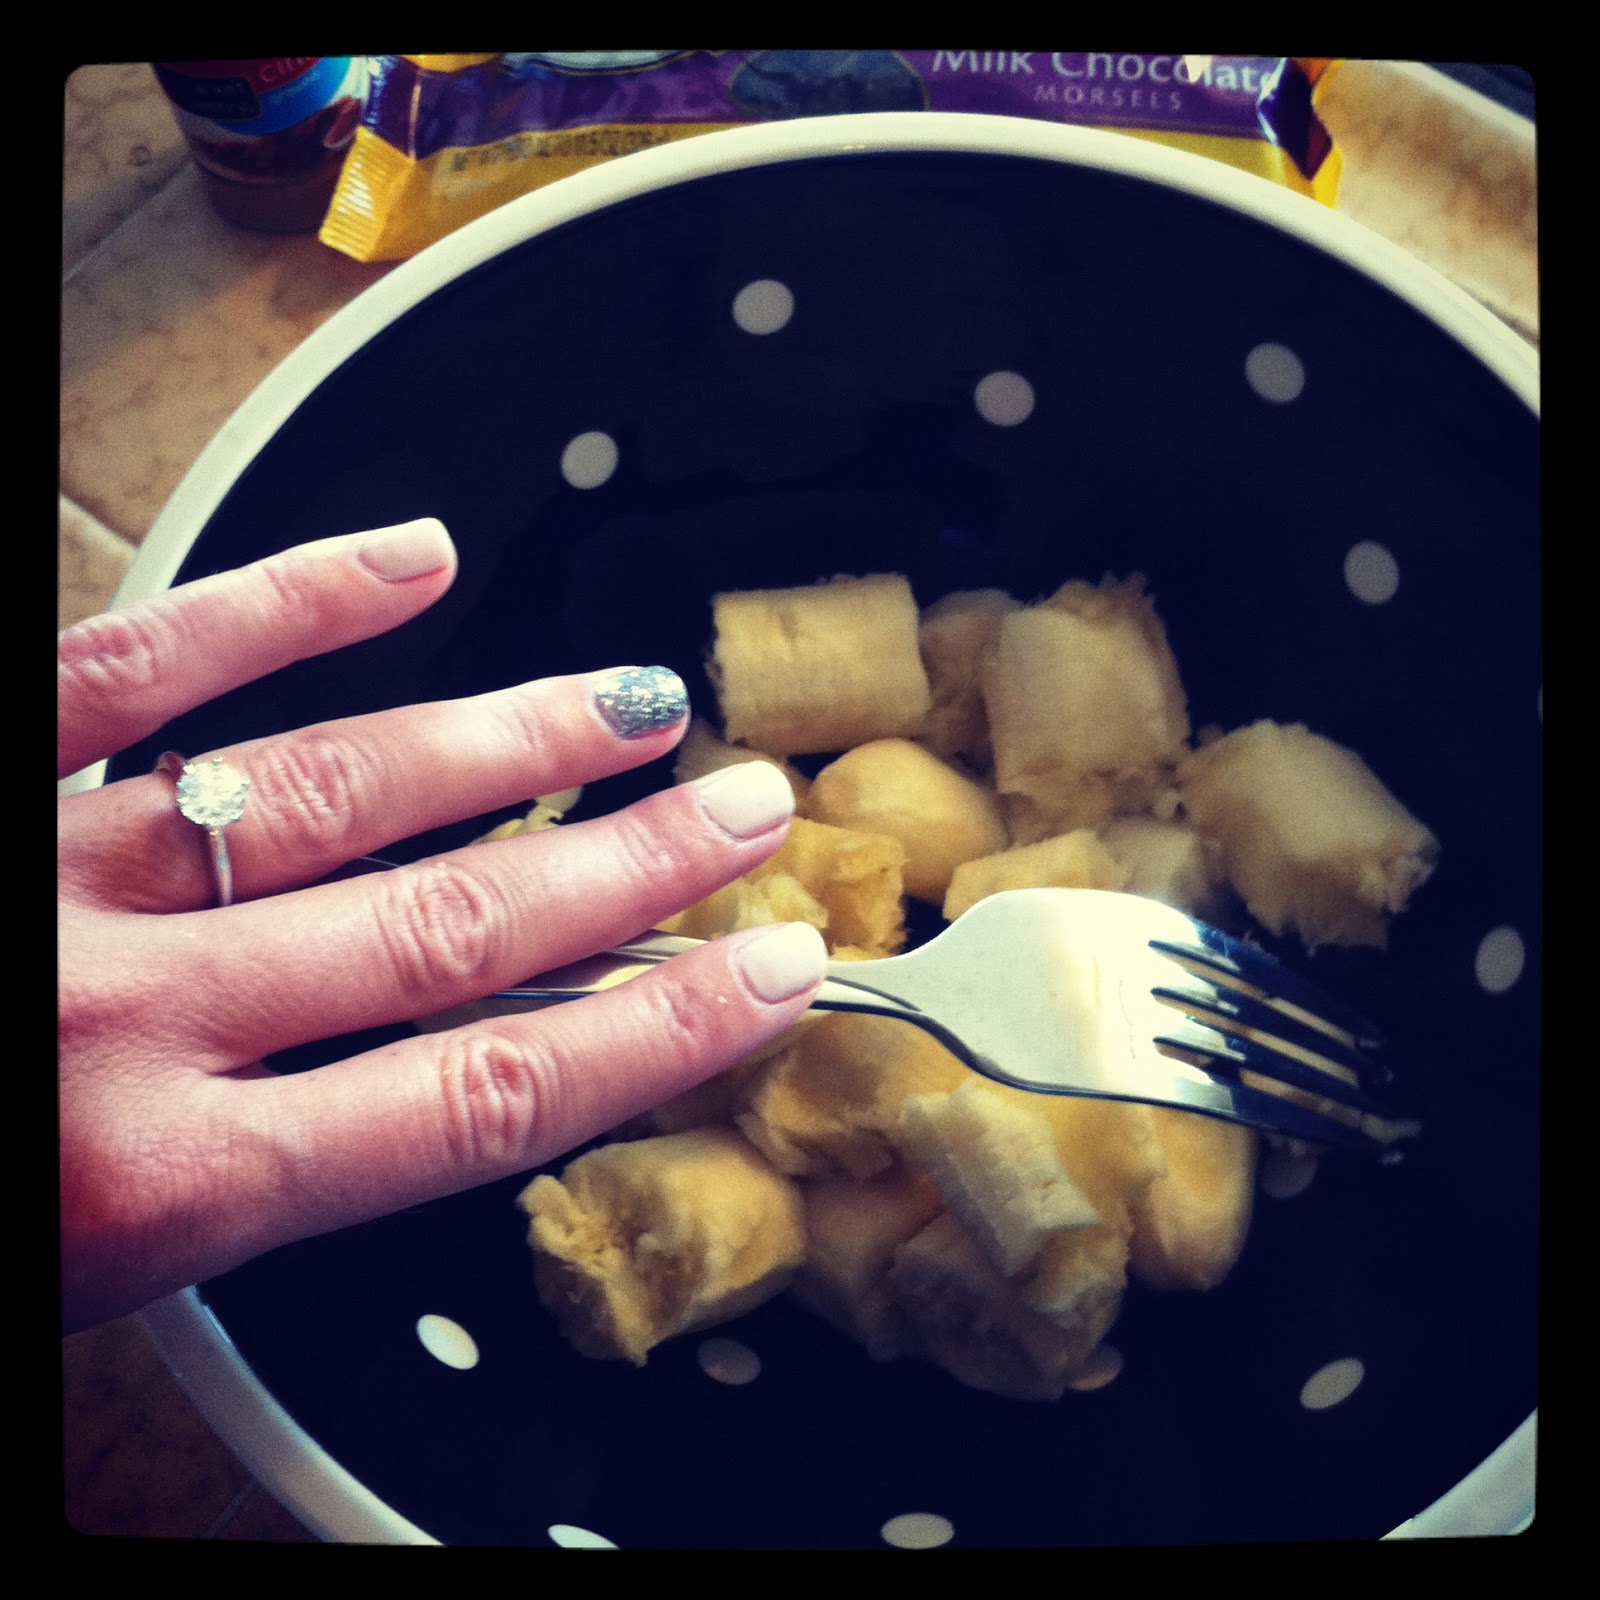
Since I have been laying low for so long there hasn't been too much exciting stuff in my life to report on, or share. But I did remember that I made some yummy mini banana bread chocolate chip muffins a while back and never wrote a post about them! You will have to forgive my shameless display of my engagement ring in the photos as I cooked up these yummy treats right after we got engaged!

My mini banana bread chocolate chip muffins were inspired by this recipe although I did tweak it a little since I made mini muffins, rather than bread and added chocolate chips, they were delish!


Mini Banana Bread Chocolate Chip Muffins

  • 1 cup granulated sugar
  • 1 stick of unsalted butter at room temperature
  • 3 ripe bananas
  • 2 large eggs
  • 1 tablespoon milk
  • 1 teaspoon ground cinnamon (next time I might use a little more cinnamon so each mini muffin packs more of a punch! 
  • 2 cups all purpose flour
  • 1 teaspoon baking powder
  • 1 teaspoon baking soda
  • 1 teaspoon salt
  • 1/2 cup of chocolate chips


Preheat the oven to 325 degrees. Grease the mini muffin tins

In a mixer or large mixing bowl, cream the sugar and butter until fluffy.

In a small bowl mash the bananas with a fork and mix in the cinnamon and milk. In another small bowl mix together the dry ingredients.


Add the banana mixture to the creamed mixture, mix until combined, then add the dry ingredients, and chocolate chips. Stir until the four disappears.


Pour the batter into the greased mini muffin tin and bake for about 20 minutes. They will bake up quickly since they are mini so keep an eye on them, they are done once a tooth pick comes out clean. Once done let them cool for about 20 minutes, serve, and enjoy!